Showing posts with label JGTentas Etsy. Show all posts

Friday, May 3, 2024

"On the Rocks 2"-the finished print!

 I finished the finish layer of the "On the Rocks 2" block print this week. It was a complicated design, one in which I used a variety of stencils to mask out sections that I wanted to keep separate from the areas I was working on.


I'm pleased overall with the finished image! I wanted to get it done in time for the Members' Show at the Two Villages Art Society gallery in Contoocook, that opens later in May. Also I'll have it for sale in my Etsy Shop---JGTentas.

Looking forward to some warmer spring weather! It's been a bit chilly and rainy here in New England. Lots of daffodils blooming though, which is very cheerful! 

Happy weekend to all!


Monday, June 5, 2023

Foggy Coast Block Print

 I haven't posted for awhile, but I wanted to update the progress on a recent print that I had been working on. The subject is based on a photo I had taken on a visit to Portland Head Light in Maine. That day it was so foggy, you could barely see the water, and I liked the color scheme created by the mist. I also enjoy working with rocky textures!

Here is the finished image.

The print size is 6" x 9" and is part of an edition of 16.

Hope everyone is having a good week! Cool weather with rainy intervals in our forecast here. We had a couple hot days in the 90s last week, but things can change quickly, and the temperature is only 58 as I write this. Well at least the rain is great for the plants!

Wednesday, March 22, 2023

Welcome Spring!

 I'm excited that Spring is technically here, even though there is still a lot of snow in my yard. We had a big snowstorm in my area about a week and a half ago, that left 18" of the wet and heavy stuff in its wake. Fortunately the sun is high in the sky now, and what's left is melting rapidly. 

I love this image of mourning doves sheltering in a large pine outside my window. Everything is values of grays and white, and the birds have balanced themselves well in the composition.


During the storm, I was working on a new block print of a decidedly more colorful image. 


I had fun texturizing the background of this print with a pattern of leaves overall. Here is the final result!


"Daffodils" 
5"x 6.5" 

Enjoy the longer hours of sunlight! Happy Spring!


Friday, October 28, 2022

Past Peak Foliage and a New Print

 As the month of October is rapidly reaching its end, I have been capturing a few images of the waning colors. 


The nearby lake has been partially drained this Fall

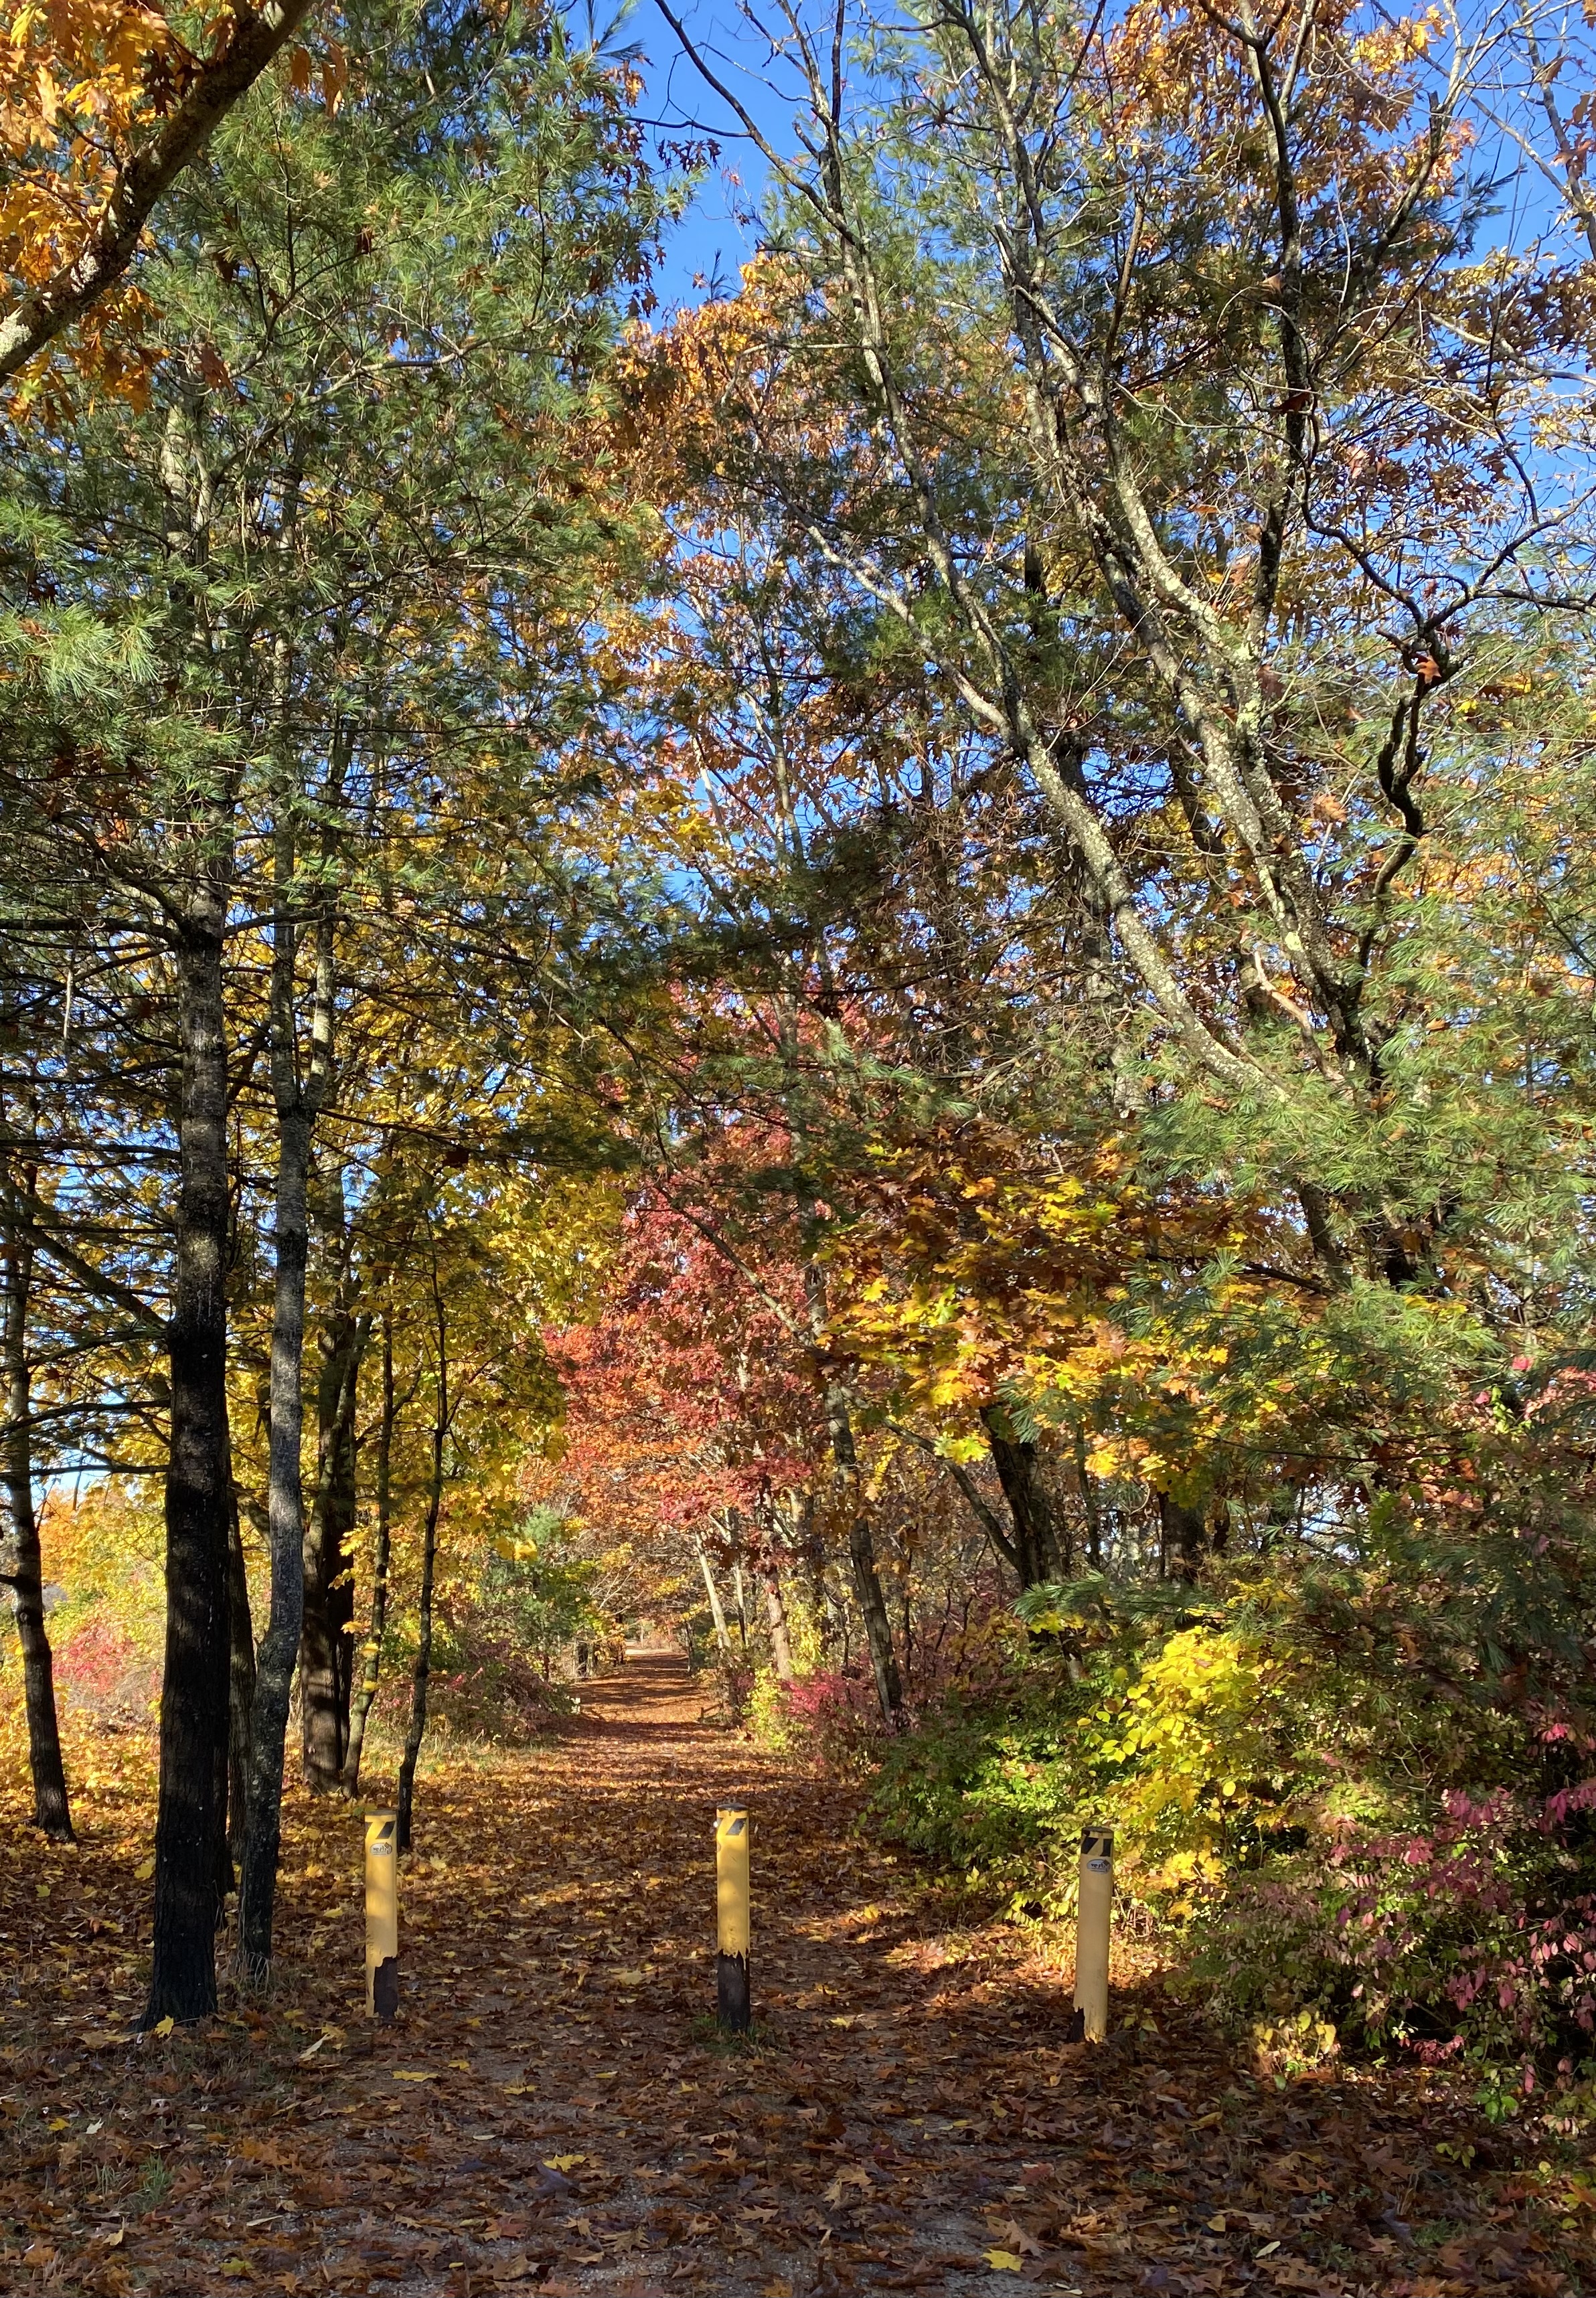
The bike trail covered by fallen leaves


The final harvest of tomatoes, and the last of the Orange Cosmos


We've had frost a few nights so far, and I've been taking in the plants that I want to over-winter in the house. I have a hard time letting go of plants, and I know I have way too many. So many of my house plants have a story behind them. Plants from clippings from my late grandparent's house, birthday plants, plants sent to us in sympathy of a loved one's passing, cactus that were tiny in one pot over 30 years ago, now monsters in their own containers. I have an orchid that a student gave to me many years ago, that faithfully blooms each year. My husband rescued a couple plants from his office as they weren't doing well, and now they are part of the menagerie. I complain a bit, but I truly enjoy having growing things around me!

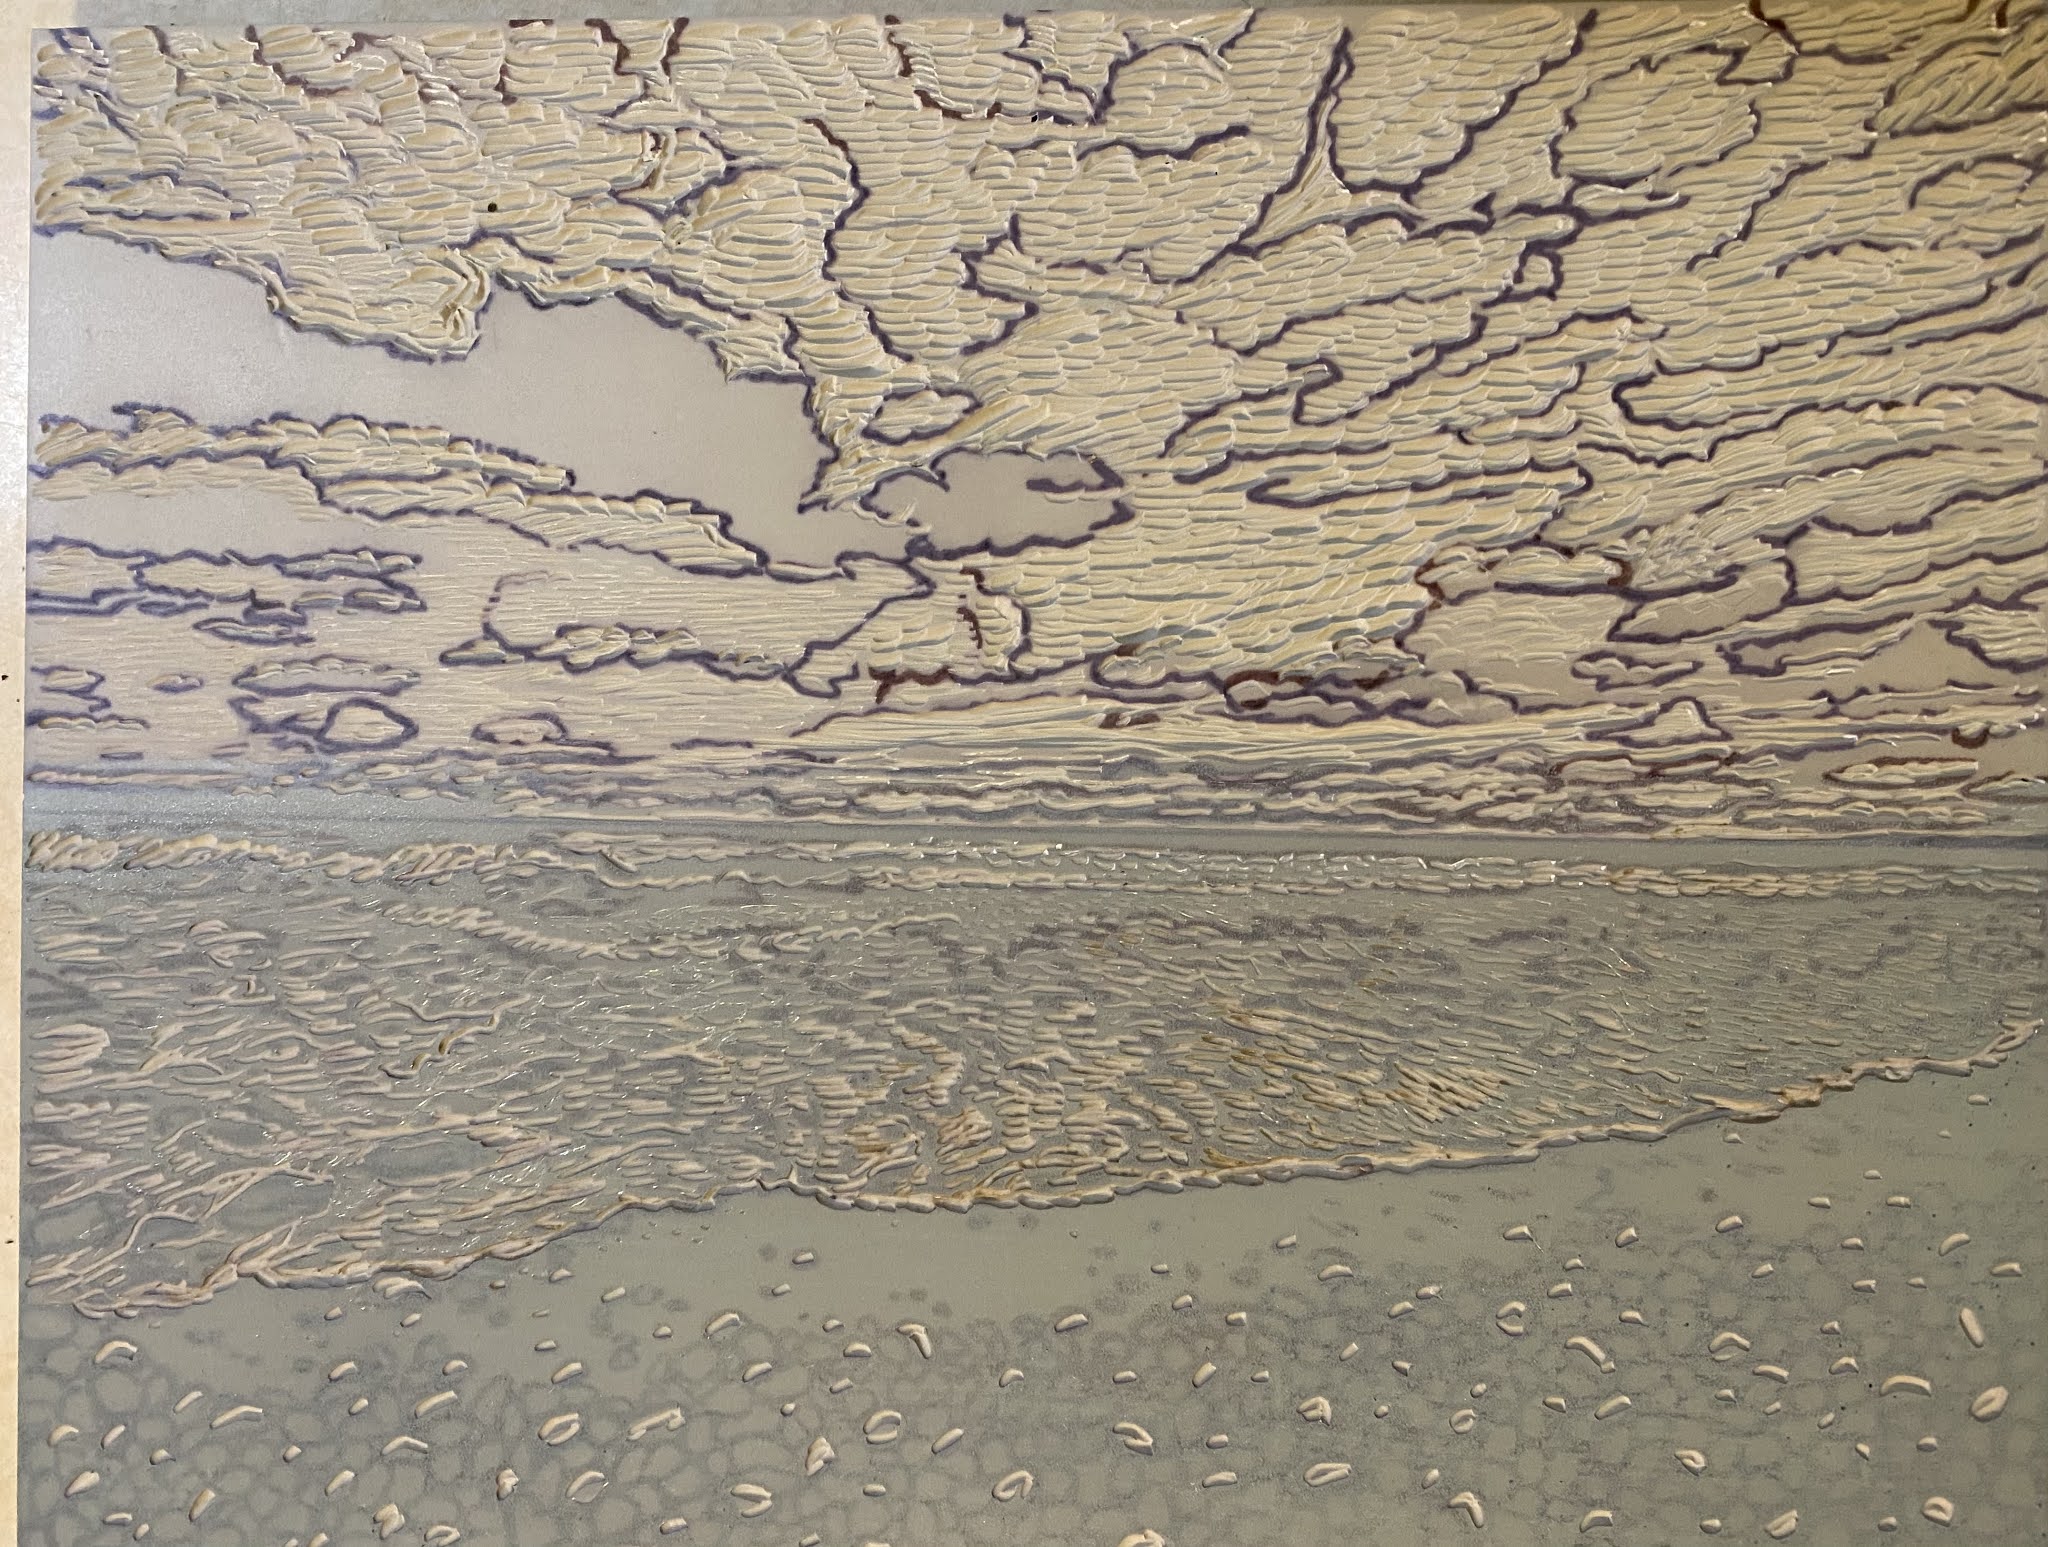
I finished a small 5"x 7" reduction block print this week. It is another version of a winter stream that I photographed a few years ago while taking a walk around town. I created a larger, similar print previously, but this one focuses more on shadows on the snow.


Goffstown Stream

It's part of an edition of 16, and I'll be putting it in my Etsy shop soon. Also getting ready for the Two Villages Art Society's Members Show in Contoocook, NH.  The show runs from November 25-December 24th. and is a great place to shop for gifts!

Bye for now! Happy Halloween!


Monday, October 11, 2021

The finished print

I finally finished the final layer on my "Cascade Falls" print. It takes so long to complete these highly detailed prints, as I have to hand print each of the 16 prints for each color layer. I think this print has about 8 different color values in it, so that's 128 individual pieces of paper that must be rubbed with a baren and wooden spoon. A printing press produces a quicker, more even print, but I like the ability to control the pressure on individual areas of the block. 

I use Akua Intaglio inks for most of my prints. They are made with soy oil, and can be cleaned easily with soap and water. I use diluted Dawn detergent for cleaning, as it cuts the greasiness of the inks. 

The prints take time to dry thoroughly, so I leave them hanging for a week or more, then I stack them in my print drawers with paper in between each sheet. The more layers, the longer it takes for drying.

A close up of the block near the end of carving

The last layer on this print is a mixture of Mars Black and Burnt Umber. 


I'll be posting this print in my Etsy shop, JGTentas when it's dry enough to package up.

Have a great week!!


Wednesday, April 21, 2021

Lily Pad Print

 Earlier this month I included a drawing of the "lily pad" print that I had started. The block size is 6" x 8" and is a soft-cut type. Since I don't have access to a printing press right now, I've had to use that type of plate for all my recent editions. I really love the easiness of carving, but it takes a bit of elbow grease to get the quality of the prints that I want. I use a baren and a wooden spoon to get the pressure needed. 


The first layer of ink was the green of the lily pads. I cut away the white areas first, as can be seen in the photo below.

In the next step, I carved out all the lily pads.


Then I created a blue blend for the water.


Layer 2-the water

The next step was to carve away the areas of water that I wanted to remain. The last layer is a deep blue to create the illusion of reflections on the water, and to define the shadows.

Final stage of block

The finished print


I matted the print in an 11" x 14" white mat, and it's ready to be posted on my Etsy shop. 


Finally, a little pop of color in the backyard!

Happy Earth Day on the 22nd!


Saturday, February 20, 2021

Mt Desert Island Reduction Block Print

I am currently working on a new block print based on a piece of land, that my husband always said he wanted to own. We visited Mt. Desert Island many times, from the year we lived outside of Bangor Maine, to camping trips with our daughters, and later again on our own. This spot is located in Manset, a town near Southwest Harbor. The view of the fields, trees, ocean, and mountains seemed like the perfect spot to settle. It was a fantasy, but one that could be imagined with pleasant yearning.

This is the block in its original state, before I printed the sky layer. I find that I am printing different colors separately, rather than covering the whole plate with ink. It allows for the colors to remain purer, with less overlapping of tones.


Three areas of color at this stage.

Multiple Layers


The block and the print ready for the brown in the foreground, and the greens in the background.


I'll post the final image as soon as I'm done.


Friday, January 22, 2021

Winter Shore, Wells, Maine Block Print

 In my last post, I started demonstrating the process of making a reduction block print of a winter beach scene. I've been working pretty steadily on this print, and I'll take you through from start to finish. 

This was the beginning stage of the whole process. The image was transferred from the tracing paper drawing onto the Soft-Kut block, and outlined with a Sharpie marker. 


I prepared for the printing of the ink layers by creating a cardboard template that the block would rest in securely. I attached metal "pins" to the template for accurate registration. I cut Rives Light paper into the size I needed, and taped plastic tabs onto each sheet. I also numbered the sheets at this point. This will be an edition of 15 prints.


I decided to do a blue blend layer first that would only be inked in the sky area.


I used Akua Intaglio ink (works great on relief prints as well as intaglio etchings)


This is the first layer hanging up to dry.


A light gray layer is printed over the whole block. I ended up printing an even lighter gray blend over the first one, as I wanted more depth in the clouds, and more variety in the gray values in the clouds.


Some definition in the clouds is beginning to appear. If you look closely you can see different gray values.

The next layer is brown for the rock layers in the foreground.


I cut away some brown areas in the rocks before the next layer.

The next layer is a greenish gray for the water and the sand.


Next is a medium gray for the rocks. 


I used masking tape to keep the ink only on the sky, in the next layer, for another gray area of the clouds. I inked the block with the tape in place, then pealed it away to print on the paper.


The image below is after one more darker gray layer in the clouds and the rocks.


At this stage I am only going to need to add a dark gray for the rocks, and a darker green/gray for the horizon area. 


The finished print!

Hopefully this gives you a better understanding of the process of reduction block printing.