Showing posts with label Winter Shore print. Show all posts

Monday, May 2, 2022

Rooster and Winter Seascape

 Hello May!!

I don't think that I posted the final image from the Wild Kauai Rooster block print that I demonstrated in the last post. I added the details on the tail feathers in the last printed layer create more definition in that area. Here's the finished print:  


Kauai Wild Rooster

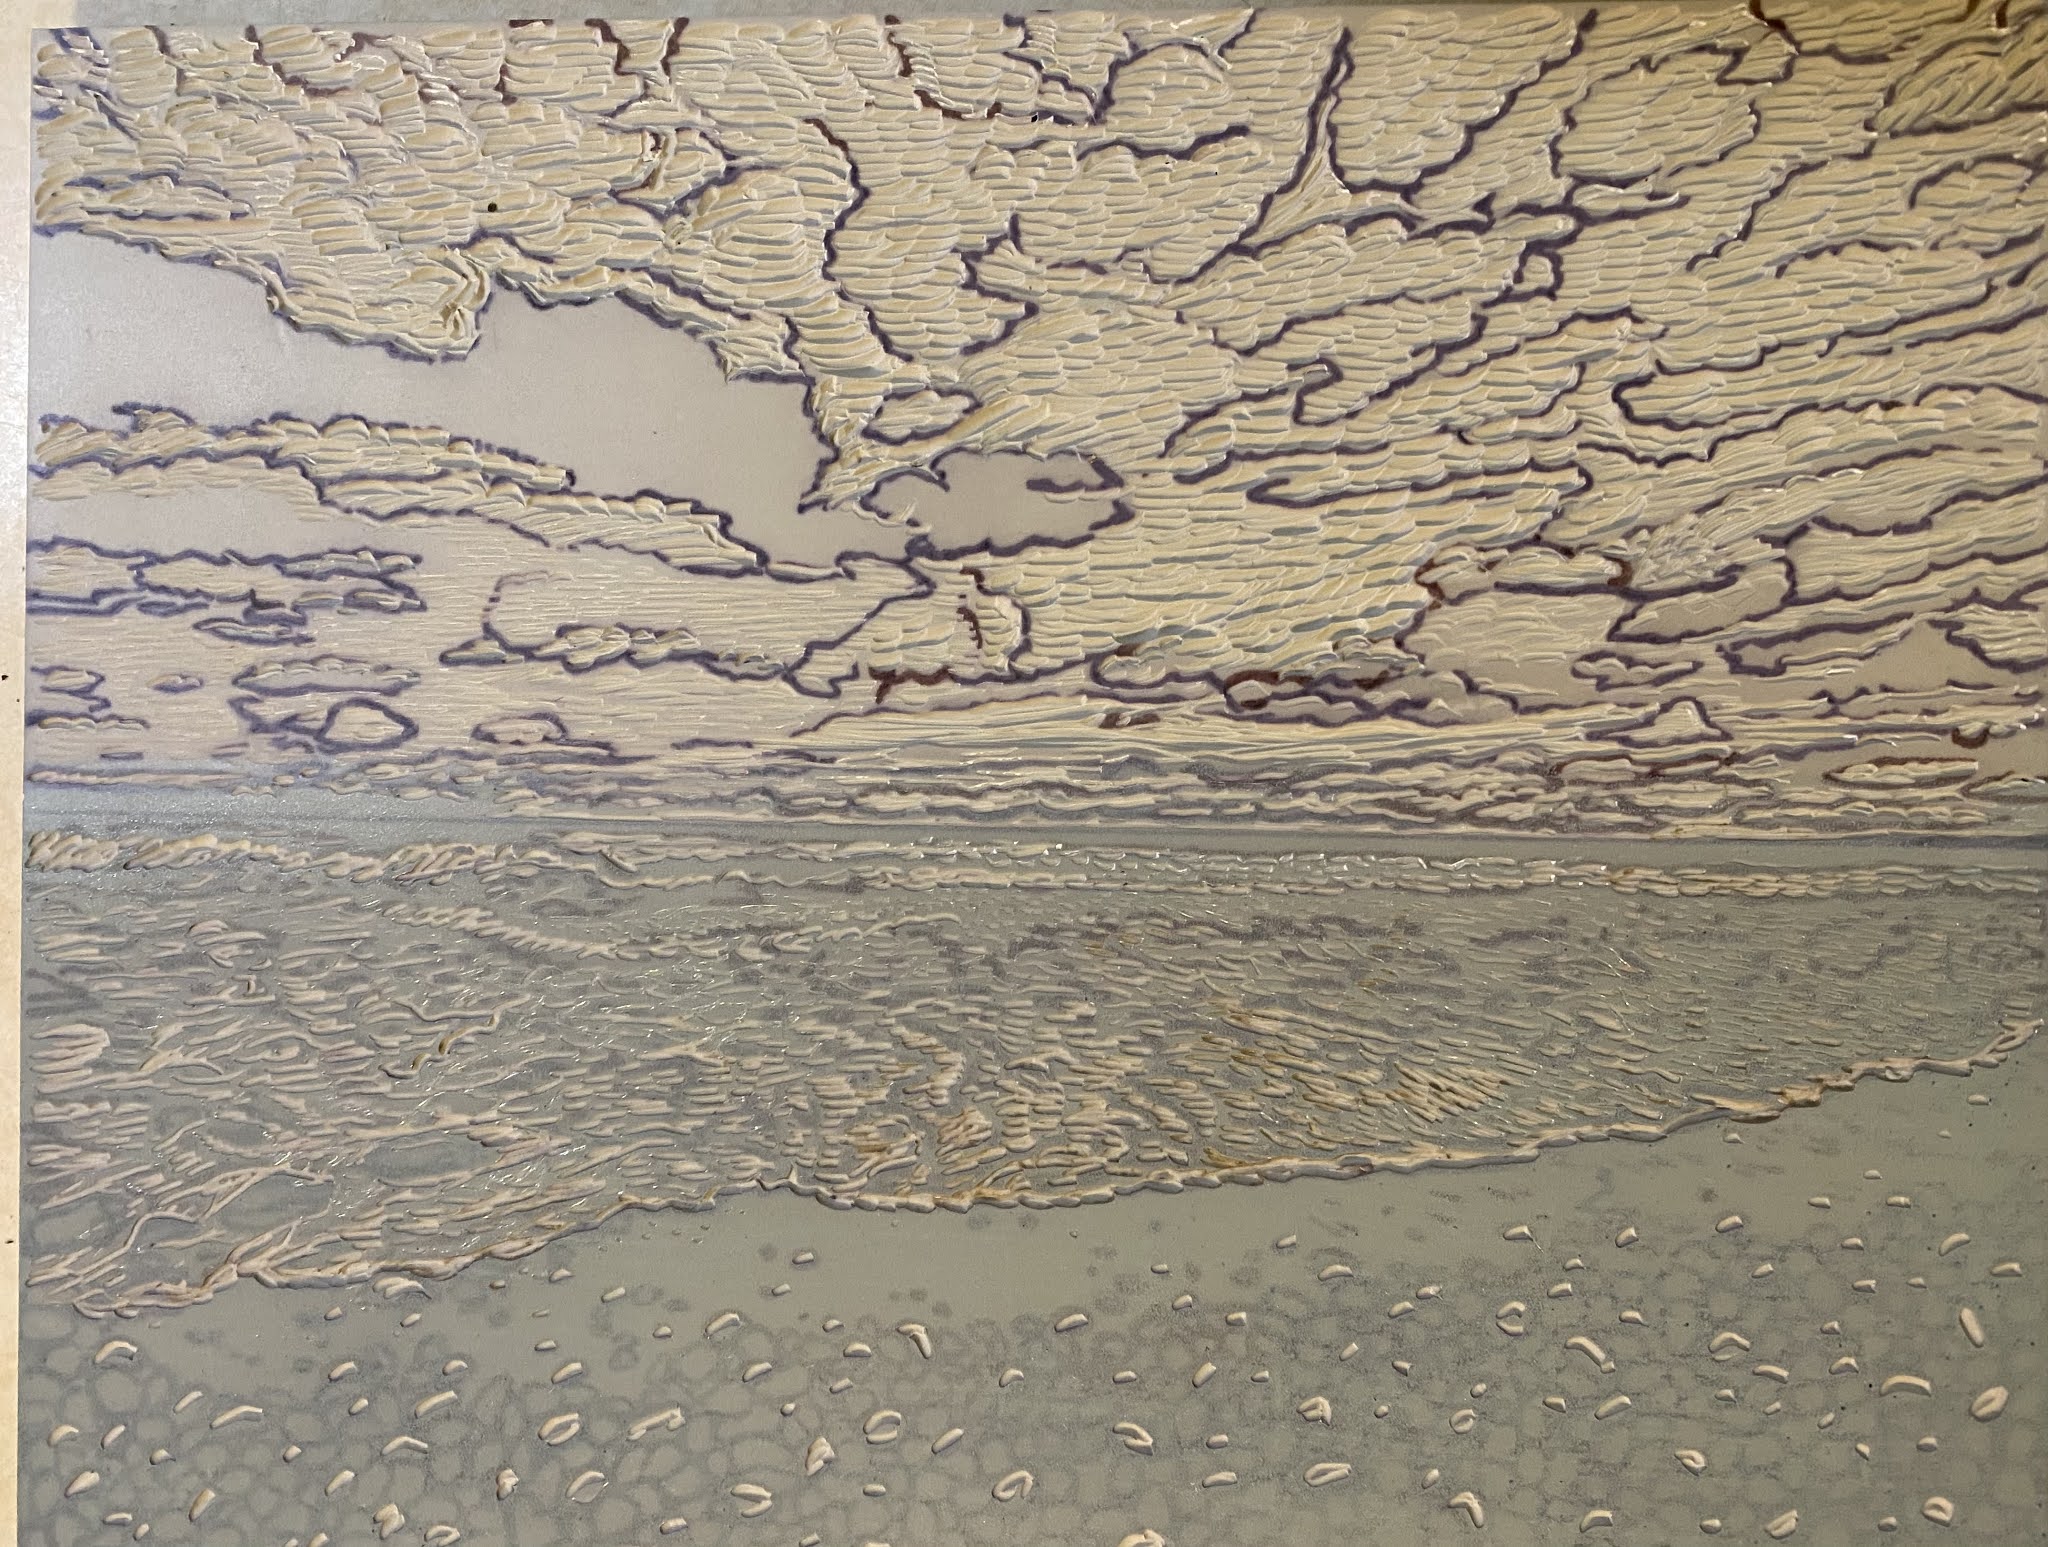
The print that I'm working on now, is the winter seascape photographed in Acadia National Park in February. I decided to use a linoleum block, instead of a Soft-Kut block, because I was able to sign up for
a printmaking class again, and had access to a printing press. I had forgotten how tough the carving of linoleum is compared to the rubbery Soft-Kut. Even with good blades, and a heated up block, I still found it took a lot of work to carve. 


I'm almost done with the Acadia print. I need to work on the trees in the background a bit, then I think it will be finished. I like the quality of the texture in the linoleum block, as it is somewhat sharper than the Soft-Kut block's texture, but I have to balance that out with the ease of carving.

Hope the month of May brings warmer weather, and new inspiration for the next project!


Friday, January 22, 2021

Winter Shore, Wells, Maine Block Print

 In my last post, I started demonstrating the process of making a reduction block print of a winter beach scene. I've been working pretty steadily on this print, and I'll take you through from start to finish. 

This was the beginning stage of the whole process. The image was transferred from the tracing paper drawing onto the Soft-Kut block, and outlined with a Sharpie marker. 


I prepared for the printing of the ink layers by creating a cardboard template that the block would rest in securely. I attached metal "pins" to the template for accurate registration. I cut Rives Light paper into the size I needed, and taped plastic tabs onto each sheet. I also numbered the sheets at this point. This will be an edition of 15 prints.


I decided to do a blue blend layer first that would only be inked in the sky area.


I used Akua Intaglio ink (works great on relief prints as well as intaglio etchings)


This is the first layer hanging up to dry.


A light gray layer is printed over the whole block. I ended up printing an even lighter gray blend over the first one, as I wanted more depth in the clouds, and more variety in the gray values in the clouds.


Some definition in the clouds is beginning to appear. If you look closely you can see different gray values.

The next layer is brown for the rock layers in the foreground.


I cut away some brown areas in the rocks before the next layer.

The next layer is a greenish gray for the water and the sand.


Next is a medium gray for the rocks. 


I used masking tape to keep the ink only on the sky, in the next layer, for another gray area of the clouds. I inked the block with the tape in place, then pealed it away to print on the paper.


The image below is after one more darker gray layer in the clouds and the rocks.


At this stage I am only going to need to add a dark gray for the rocks, and a darker green/gray for the horizon area. 


The finished print!

Hopefully this gives you a better understanding of the process of reduction block printing.